In today’s digital age, online privacy and security have become paramount concerns. With the constant threat of cyberattacks and data breaches, it’s essential to take proactive steps to protect your personal information while browsing the internet. One effective way to enhance your online security and privacy on your Android device is by using a Virtual Private Network (VPN). In this article, we will guide you through the process of setting up a Free VPN for Android device, helping you safeguard your data without breaking the bank.
Why Use a VPN on Your Android Device?
Before we dive into the setup process, let’s briefly discuss why using a VPN on your Android device is a wise decision.
Enhanced Privacy: A VPN encrypts your internet traffic, making it difficult for third parties, including hackers and your Internet Service Provider (ISP), to monitor your online activities. This helps protect your privacy by keeping your online behavior anonymous.
Bypass Geo-restrictions: VPNs allow you to access websites and online services that may be restricted in your region. By connecting to a server in a different location, you can bypass these restrictions and enjoy a more open internet.
Security on Public Wi-Fi: When using public Wi-Fi networks, you are at risk of various security threats. A VPN creates a secure tunnel for your data, preventing potential eavesdroppers from intercepting your sensitive information.
Prevent Tracking: Many websites and advertisers track your online behavior to create targeted ads. Using a VPN can help thwart such tracking attempts.
Access to Blocked Content: In some countries, certain websites and online services are blocked. A VPN allows you to access these blocked sites by masking your real IP address.
Now that we understand the benefits of using a VPN on your Android device, let’s move on to the setup process.
Setting Up a Free VPN on Your Android Device
Setting up a free VPN on your Android device is a straightforward process. Follow these steps to get started:
Step 1: Choose a Reliable Free VPN Service
When selecting a free VPN service, it’s crucial to choose a reputable provider. Look for a VPN that offers good security features and does not compromise your privacy. Some well-known free VPNs for Android include ProtonVPN, TunnelBear, and Windscribe. These services offer limited free plans with the option to upgrade to premium plans for additional features.
Step 2: Download and Install the VPN App
Once you’ve chosen a VPN service, visit the Google Play Store on your Android device and search for the VPN app you’ve selected. Download and install the app on your device.
Step 3: Create an Account
Open the VPN app after installation and follow the on-screen instructions to create a free account. You may need to provide an email address and set a password for your account.
Step 4: Connect to a Server
After creating an account, launch the VPN app and sign in. Most free VPNs will automatically connect you to a recommended server. However, you can usually choose a specific server location by selecting it from a list. It’s a good idea to connect to a server that is geographically close to your location for faster speeds.
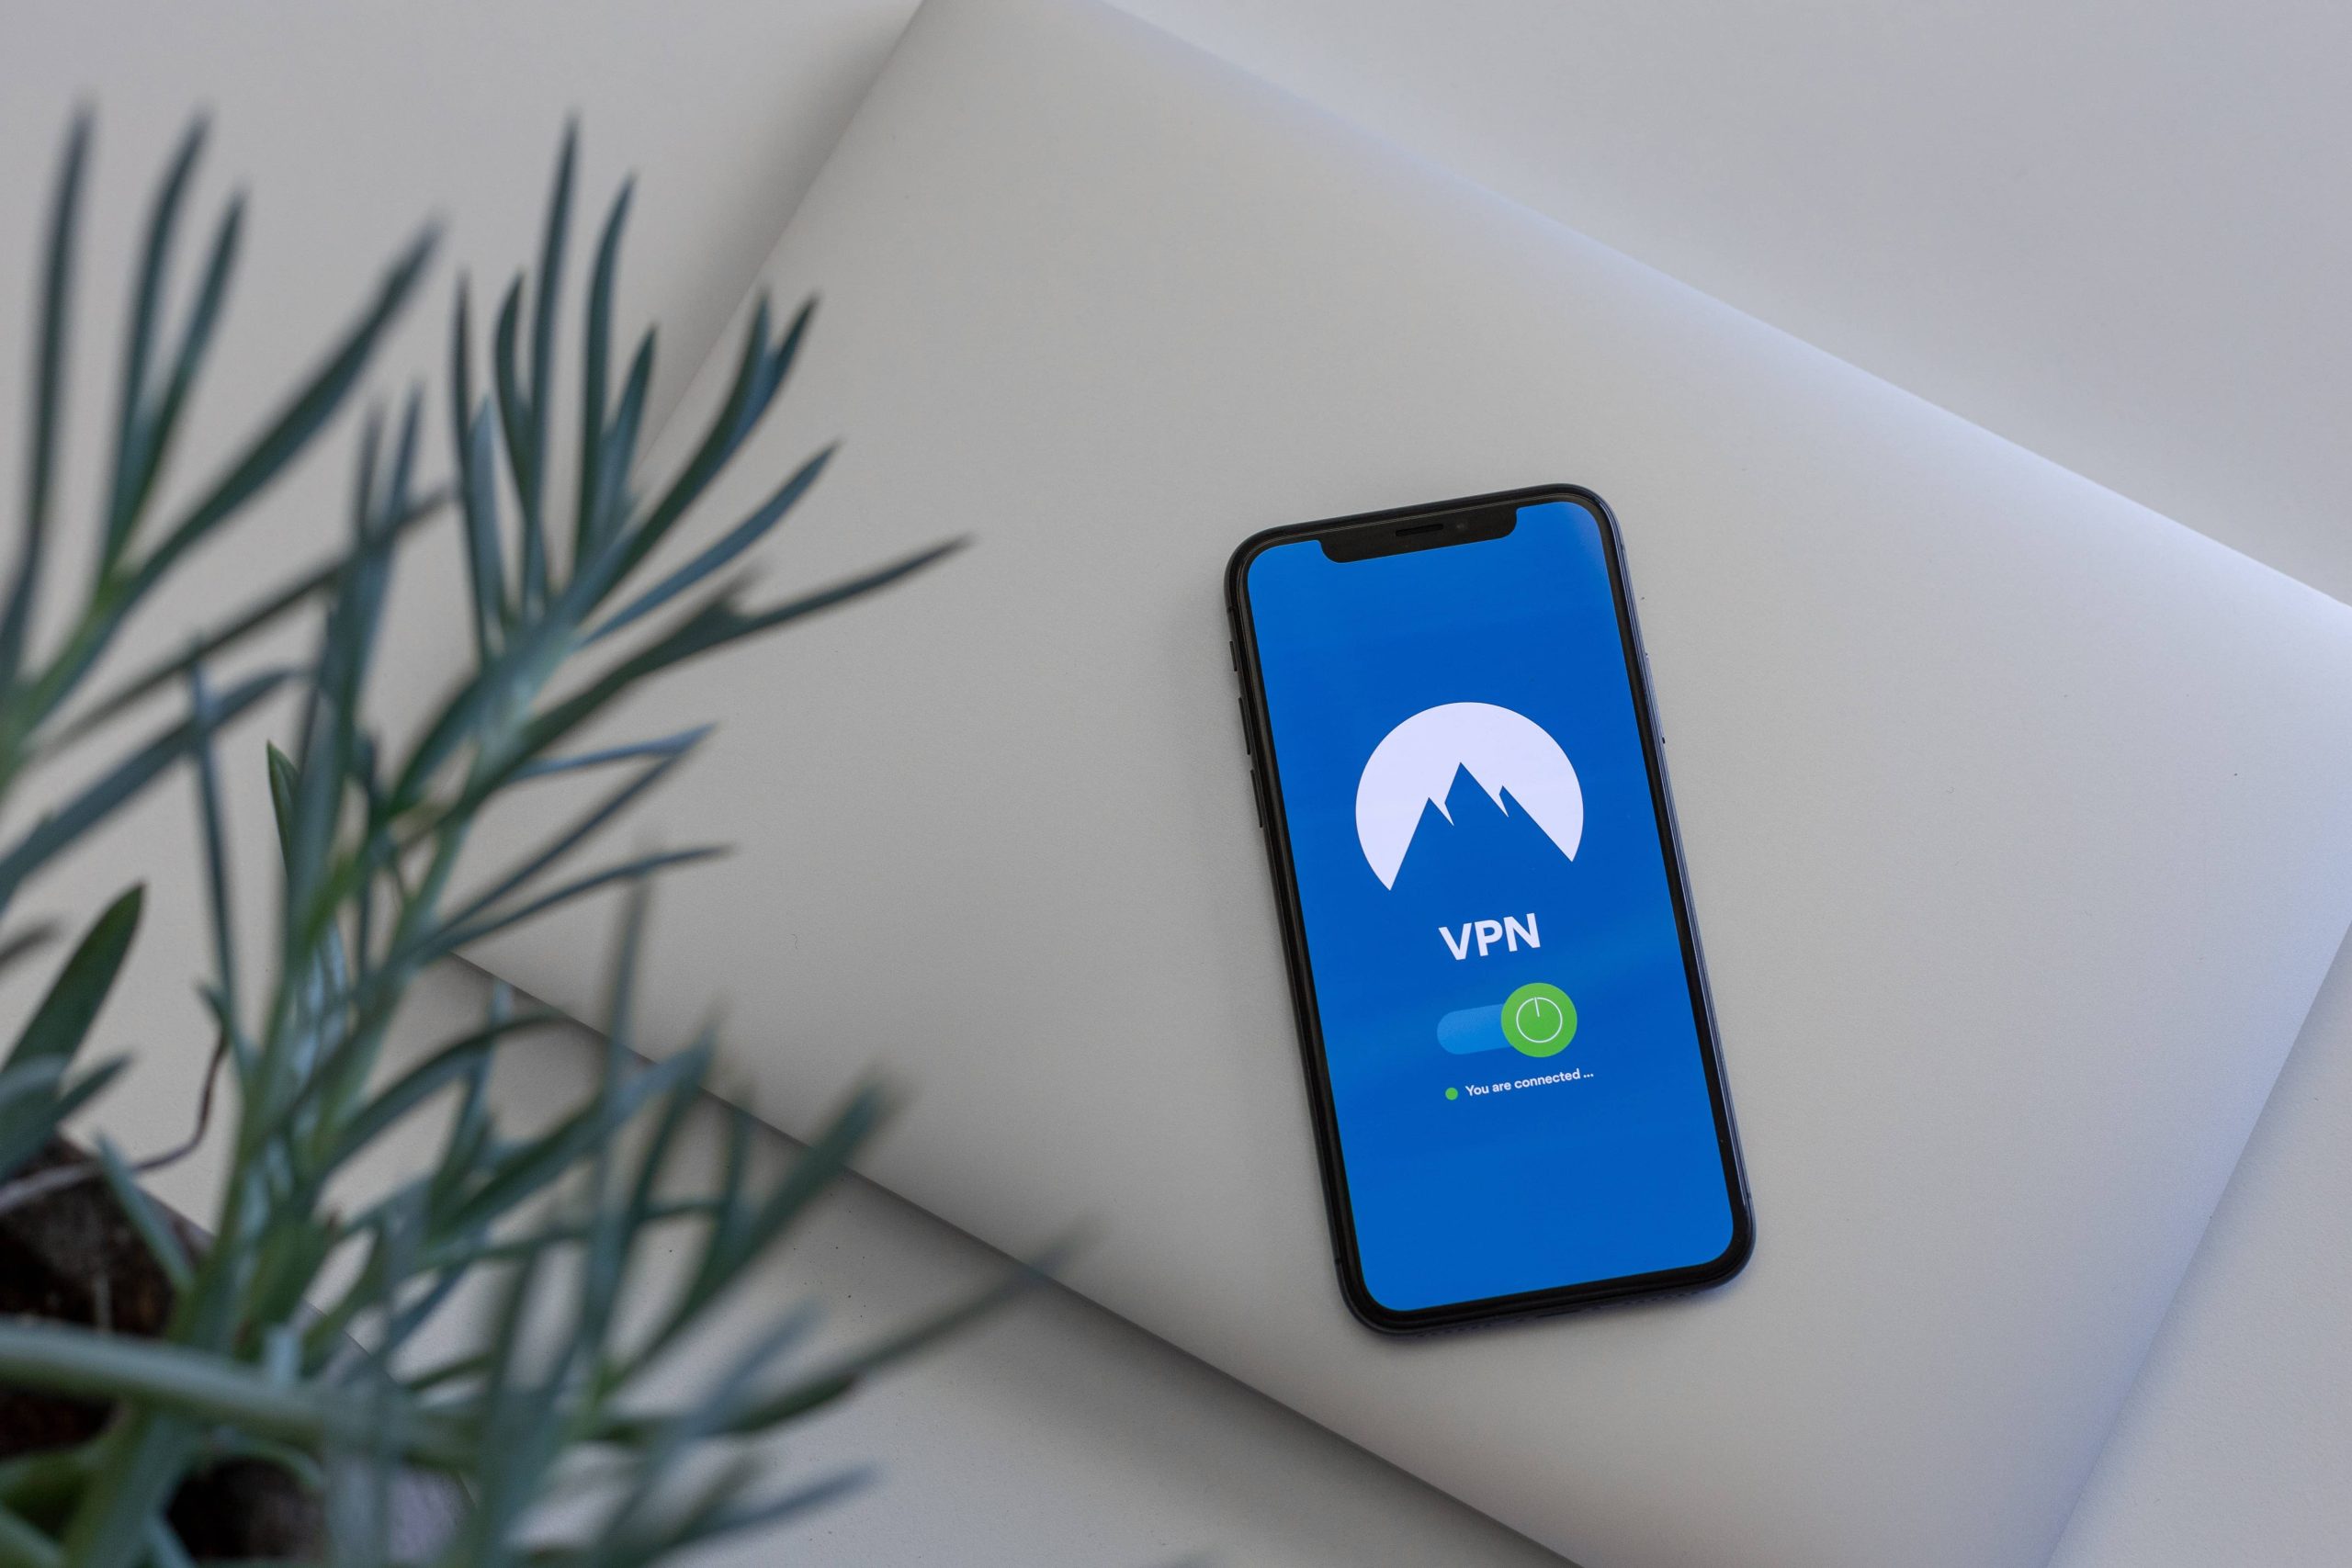
Step 5: Enable the VPN Connection
Once you’ve selected a server, toggle the VPN connection switch to enable it. You’ll usually find this switch in the app’s main screen or settings. When the VPN is active, you’ll see an icon in your Android device’s status bar, indicating that your connection is secure.
Step 6: Test Your VPN Connection
To ensure that your VPN is working correctly, you can visit a website that checks your IP address. Simply open your web browser and search for “What is my IP address?” The displayed IP address should match the location of the server you’ve connected to, not your actual location.
Step 7: Customize Your VPN Settings (Optional)
Most VPN apps offer a range of customization options. You can explore these settings to tailor your VPN experience to your preferences. Common options include choosing the VPN protocol, enabling a kill switch, and configuring automatic connection on startup.
Tips for Using a Free VPN on Your Android Device
While free VPNs offer valuable privacy and security benefits, they do come with certain limitations. Here are some tips to make the most of your free VPN service:
Check Data Limits: Free VPNs often impose data limits, so be aware of how much data you can use per month. This is especially important if you plan to stream videos or download large files.
Upgrade to Premium: Consider upgrading to a premium VPN plan if you find the limitations of the free plan too restrictive. Premium plans typically offer faster speeds, unlimited data, and access to a wider range of server locations.
Be Mindful of Ads: Free VPNs often support their services through advertisements. Be prepared for occasional ads within the app or when connecting to a server.
Read the Privacy Policy: Always read the privacy policy of the VPN provider to understand how they handle your data. Ensure they have a strict no-logs policy to protect your privacy.
Regularly Update the App: Keep your VPN app updated to ensure you have the latest security features and bug fixes.
Disconnect When Not in Use: To conserve data and battery life, disconnect the VPN when you’re not actively using it.
Test Different Servers: Experiment with different server locations to find the one that offers the best speed and performance for your needs.
Conclusion
Setting up a free VPN on your Android device is a simple and effective way to enhance your online privacy and security. By following the steps outlined in this article and taking advantage of a reputable free VPN service, you can browse the internet with confidence, knowing that your data is protected from prying eyes. Whether you’re using public Wi-Fi, accessing geo-restricted content, or simply safeguarding your online activities, a VPN is a valuable tool in your digital arsenal. Start protecting your Android device today and enjoy a safer and more private online experience.
